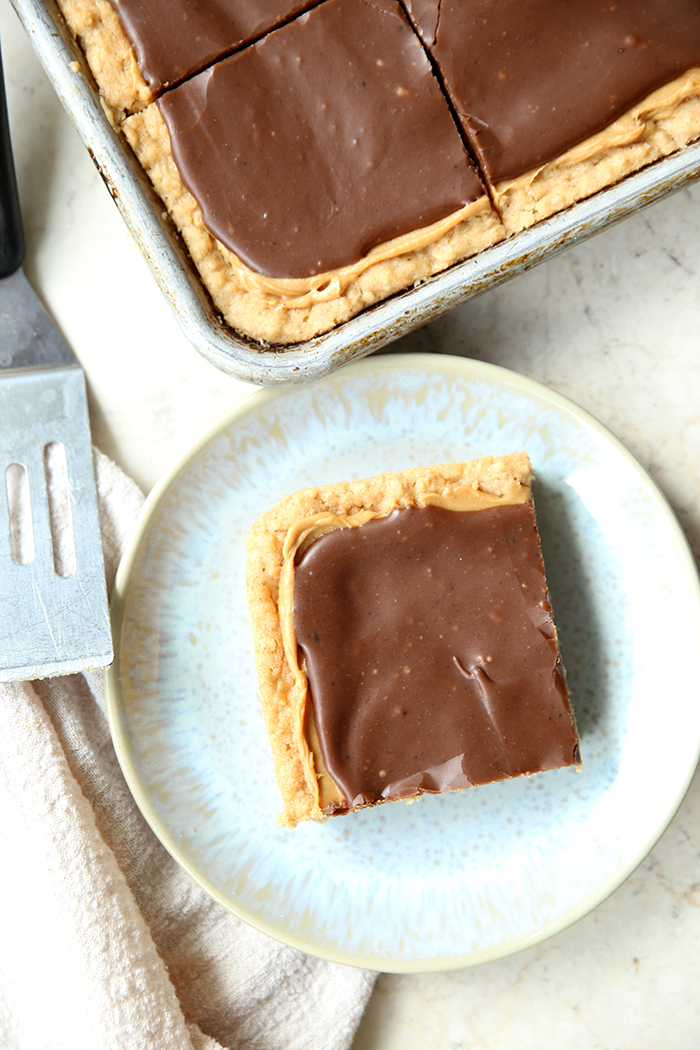
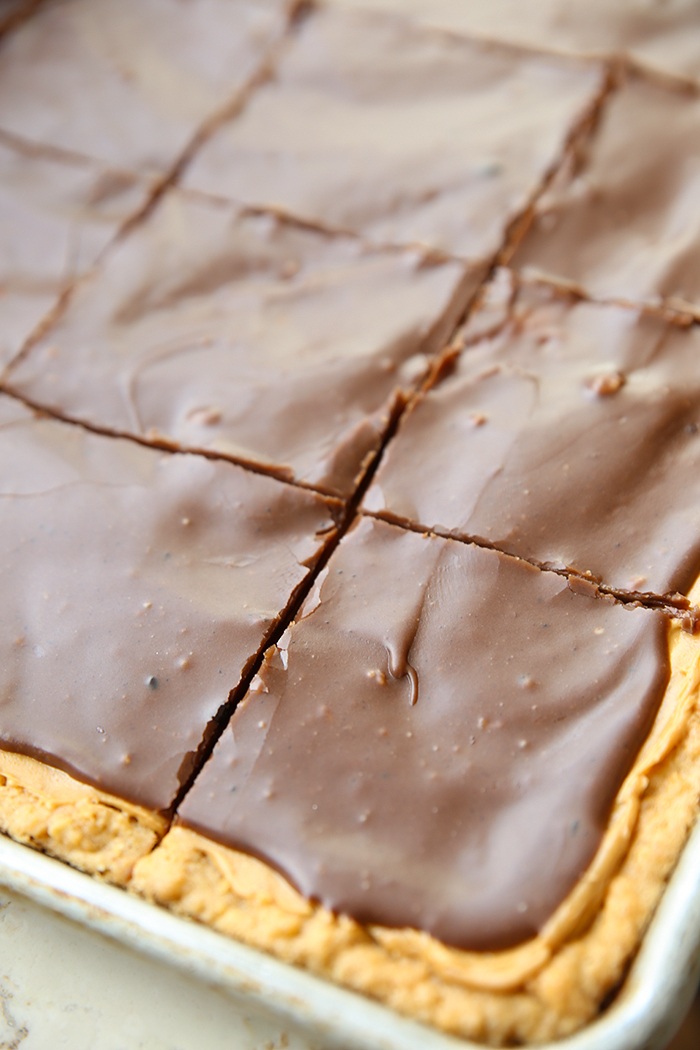
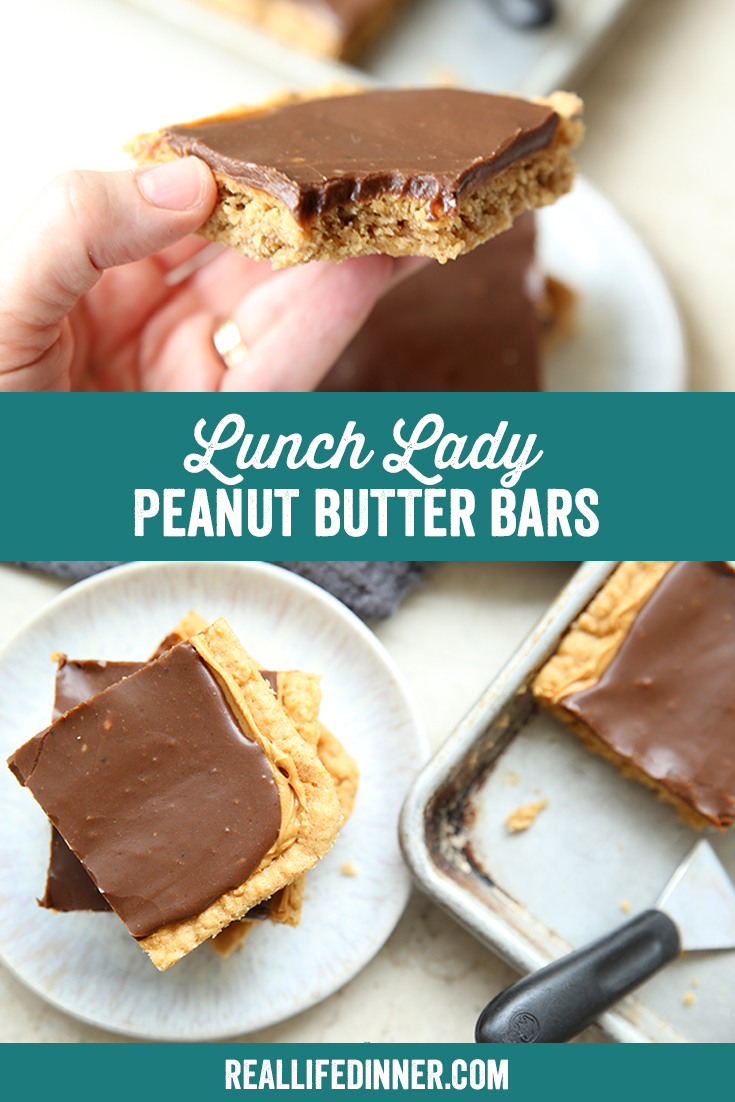
That thin little layer of peanut butter smashed in between the chewy cookie bar and the silky, chocolate frosting creates the perfect balance of salty and sweet. It’s an absolutely dangerous peanut butter chocolate combo.
 Really, though, I might not ever be able to make these again. I thought I could handle it, but in two days, I ate nearly half of the GIANT cookie-sheet-sized pan all.by.myself! The texture, the combination of flavor, the fudge-y frosting….they are absolute perfection! Find an excuse–any excuse–to make these, and be sure to hide a few in your freezer when you do. Mine didn’t make it that far this time, and I can only imagine how delicious they are frozen! YUM!

More of my favorite Chocolate Peanut Butter Recipes
- Marshmallow Peanut Butter Crunch Brownies
- No-Bake Reeses Peanut Butter Pie
- Peanut Butter Cookie Pie
- Peanut Butter Fudge Bars
- Classic No-Bake Cookies
- Oatmeal Peanut Butter Chocolate Chip Bars
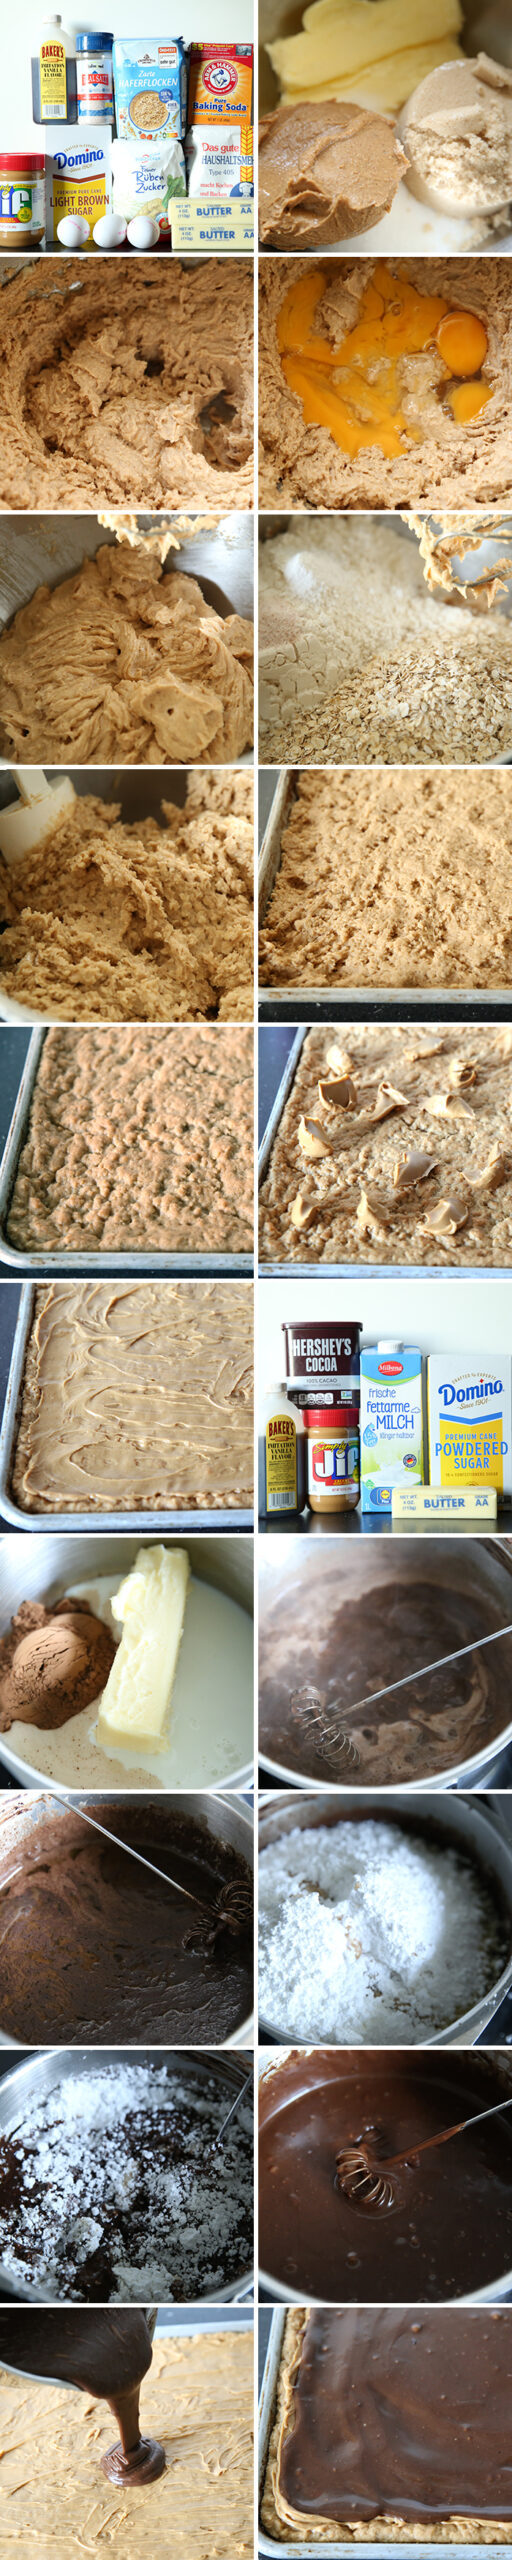
step-by-step pictures for how to make Lunch Lady Peanut Butter bars
 Frequently Asked Questions about how to make Lunch Lady Peanut Butter Bars
Can I Use crunchy Peanut butter instead of creamy peanut butter?
Yes, you can, but bear in mind, it will be more difficult to do the peanut butter layer on top of the bars with crunchy peanut butter. You may need a little extra to be able to spread it over the entire cookie sheet of bars.
Is it okay to use natural peanut butter instead of regular peanut butter?
If you want to use natural peanut butter in the actual cookie bar, that is fine. It works well in that part. However, it doesn’t work well as the layer on top of the bar. I strongly encourage you to use regular creamy peanut butter for that part.
 Can I use almond butter in place of Peanut butter?
I have never tried using almond butter, but I am sure it would change the overall flavor. For a true Lunch Lady Peanut Butter Bar, you need to use peanut butter.
Will old-fashioned oatmeal work in this recipe or do I have to use quick oats?
Yes, you can use old-fashioned oatmeal, but the texture will be slightly different. Nothing too serious, but quick oats do work a little better in this recipe.
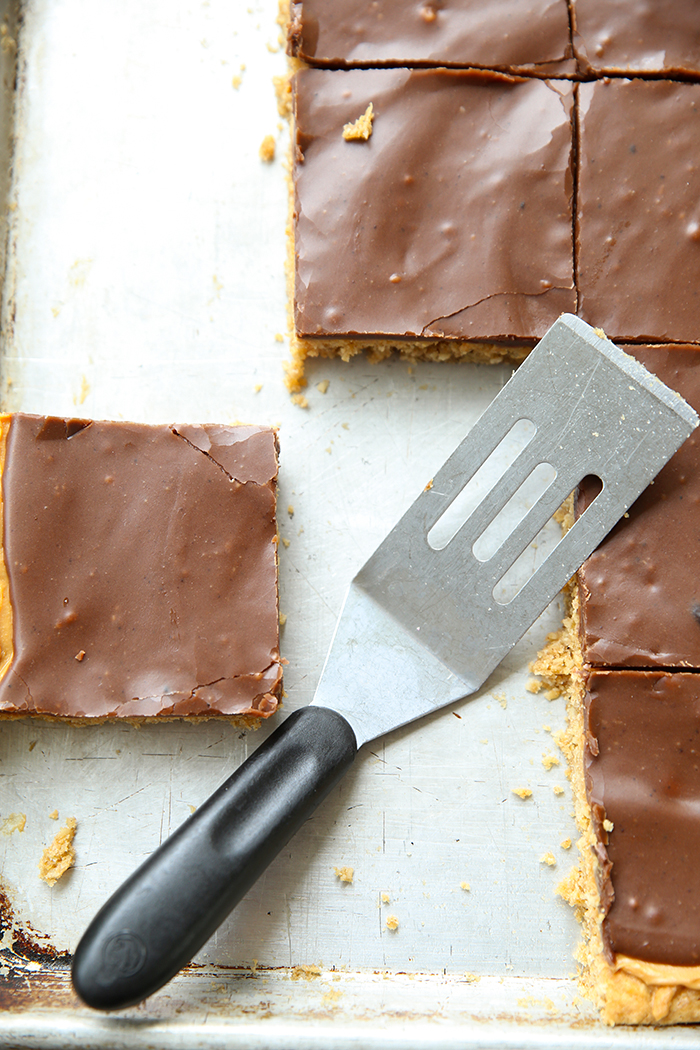
 BAKER’S TOOLS:
More Delicious Bar Recipes


- 1 cup butter, softened
- 2 cups creamy peanut butter, divided
- 1 cup granulated sugar
- 1 cup brown sugar
- 3 eggs
- 2 tsp vanilla extract
- 1 tsp salt
- 1½ tsp baking soda
- 2½ cup all-purpose flour
- 2½ cup quick oats
- FUDGE FROSTING:
- ½ cup butter
- ¼ cup cocoa
- ¼ cup milk
- 3 cups powdered sugar
- 1 tsp vanilla extract
- Preheat the oven to 350 degrees.
- Lightly grease a large 13x18 cookie sheet pan.
- In a stand mixer or with a hand mixer, combine butter, 1 cup of peanut butter, granulated sugar, and brown sugar. Cream together for 2 minutes.
- Add eggs and vanilla. Continue mixing until well combined, about 30-45 seconds.
- Next, add flour, oatmeal, salt, and baking soda. Mix until well combined. The dough will be thick. Press/spread it evenly into the greased pan.
- Bake in a 350-degree oven for 18-22 minutes. Do not overbake. The bars will be barely starting to brown on the edges when they are done. You can test the center with a toothpick if desired. Remember, the bars will continue to cook a little as they cool in the pan. In my oven, it takes exactly 19 minutes.
- Let the bars cool.
- When the bars are cool, use a spoon to evenly distribute dollops of peanut butter over the cooled bars. Spread the dollops to create a thin layer of peanut butter over the bars. This takes about 1 cup of peanut butter.
- FUDGE FROSTING:
- Make the fudge frosting by combining the butter, cocoa powder, and milk in a 1-quart saucepan. Bring it to a boil and boil for 20-30 seconds. Take off the heat.
- Add three cups of powdered sugar and 1 tsp of vanilla extract. Use a whisk or hand mixer to mix until there are no lumps and the frosting is smooth. Immediately pour it over the bars and carefully spread it to cover the bars without mixing in the peanut butter, if possible. You want them to be separate layers. (Tip: When you pour the frosting on, don't do it all in one spot. Try to cover as much of the bars as possible, so you have less spreading to do.)
- Let bars cool completely and the frosting set up before cutting.
- Serve and Enjoy!
Have you tried these Popular Recipes?


Wow! These look and sound amazing. We will definitely be trying them! Thanks, Maria!
You’re going to love them! I keep making excuses to make them and it is going to start catching up with me….:)
My chocolate topping keeps separating before it boils. It’s looks great, then it don’t. What am I doing wrong?
The chocolate mixture will look kind of separated before take it off the heat and mix it into the powdered sugar. Is that what you are talking about. I just want to clarify you don’t add the powdered sugar while it is on the heat.
So easy and yummy!
Thank you! 😘
FAVORITE! This recipe takes me right back to good ole North Sevier school’s lunch rooms, back when school lunch good and life was easy! It was always exciting when we got the peanut butter bars, and this recipe is them to a T!