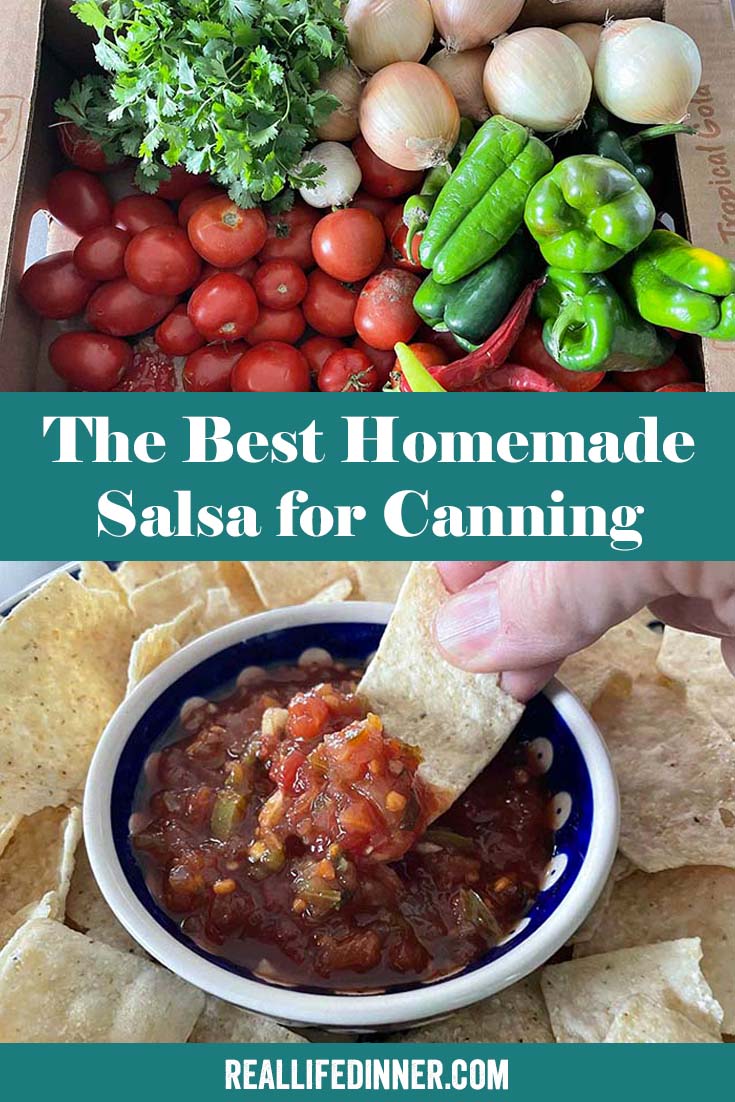
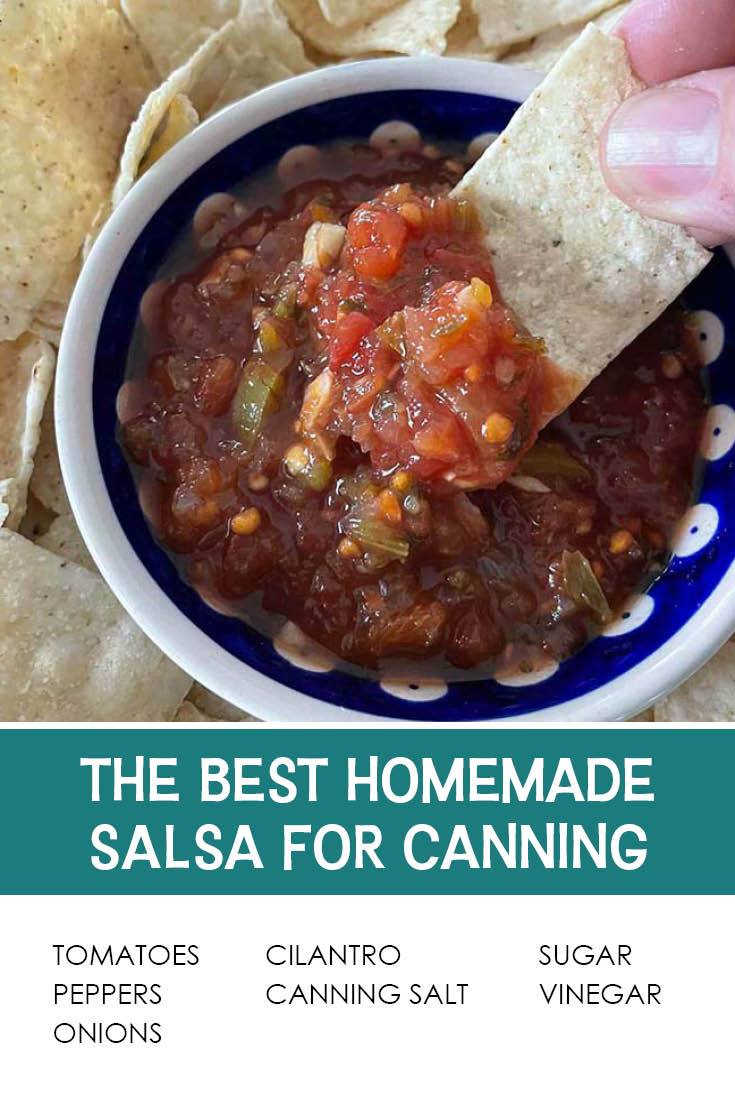
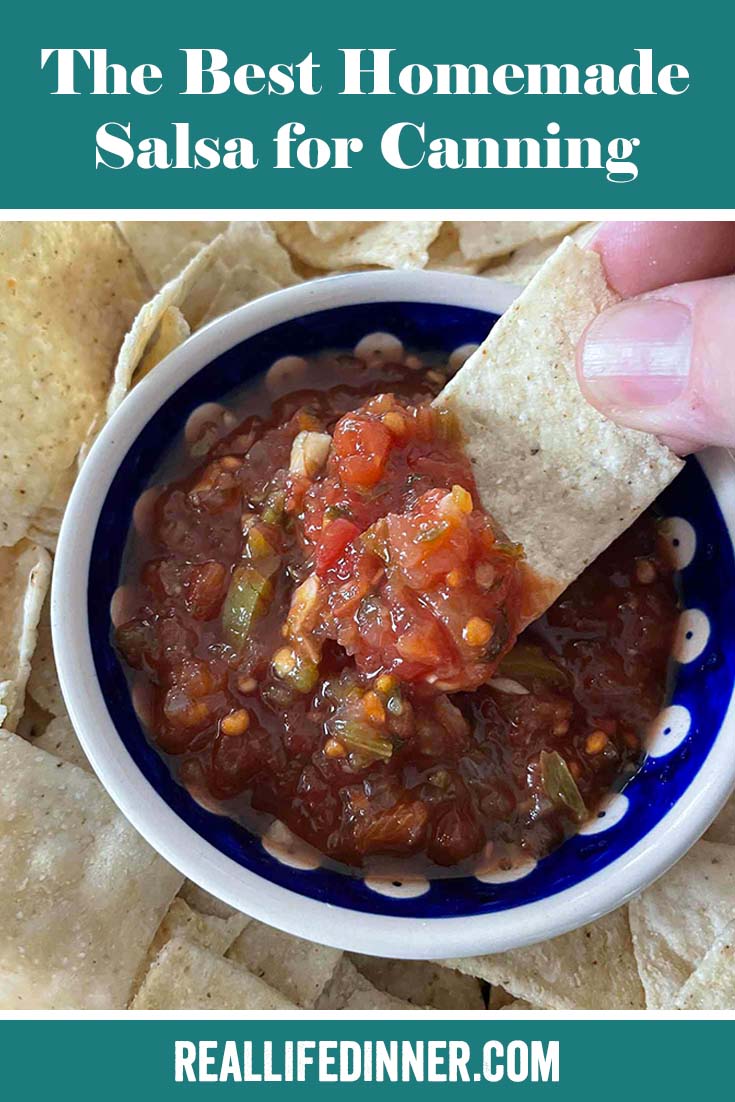
The Best Homemade Fresh Salsa for Canning
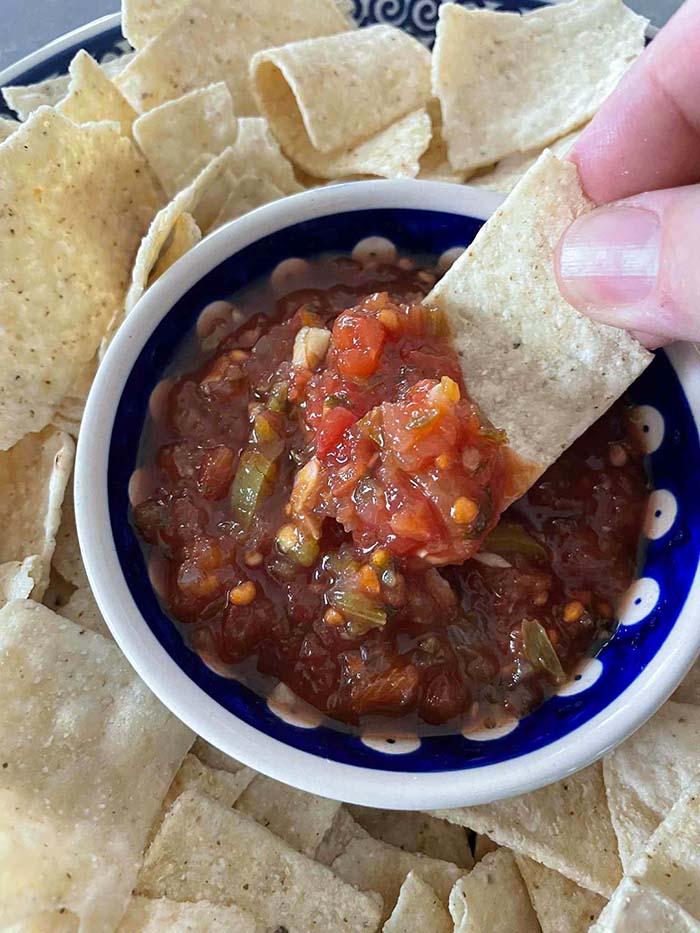
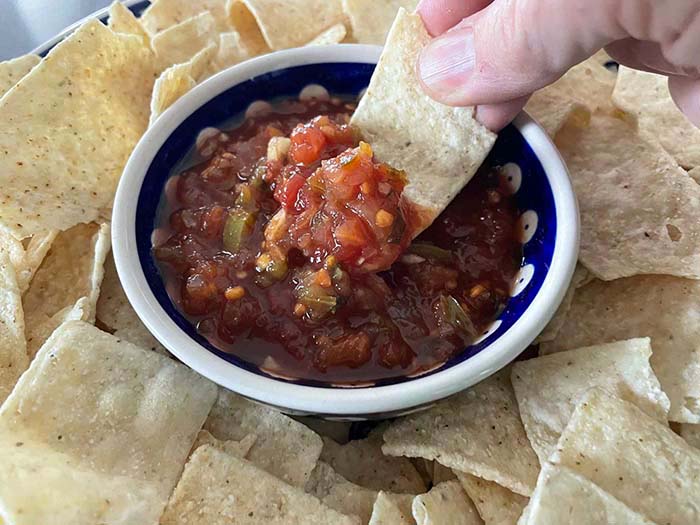
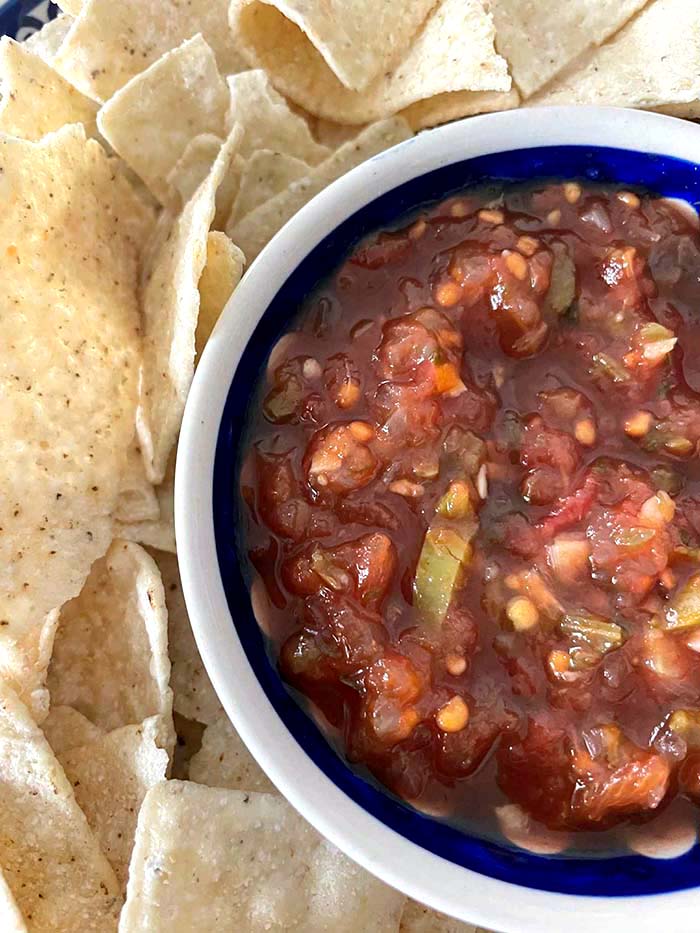
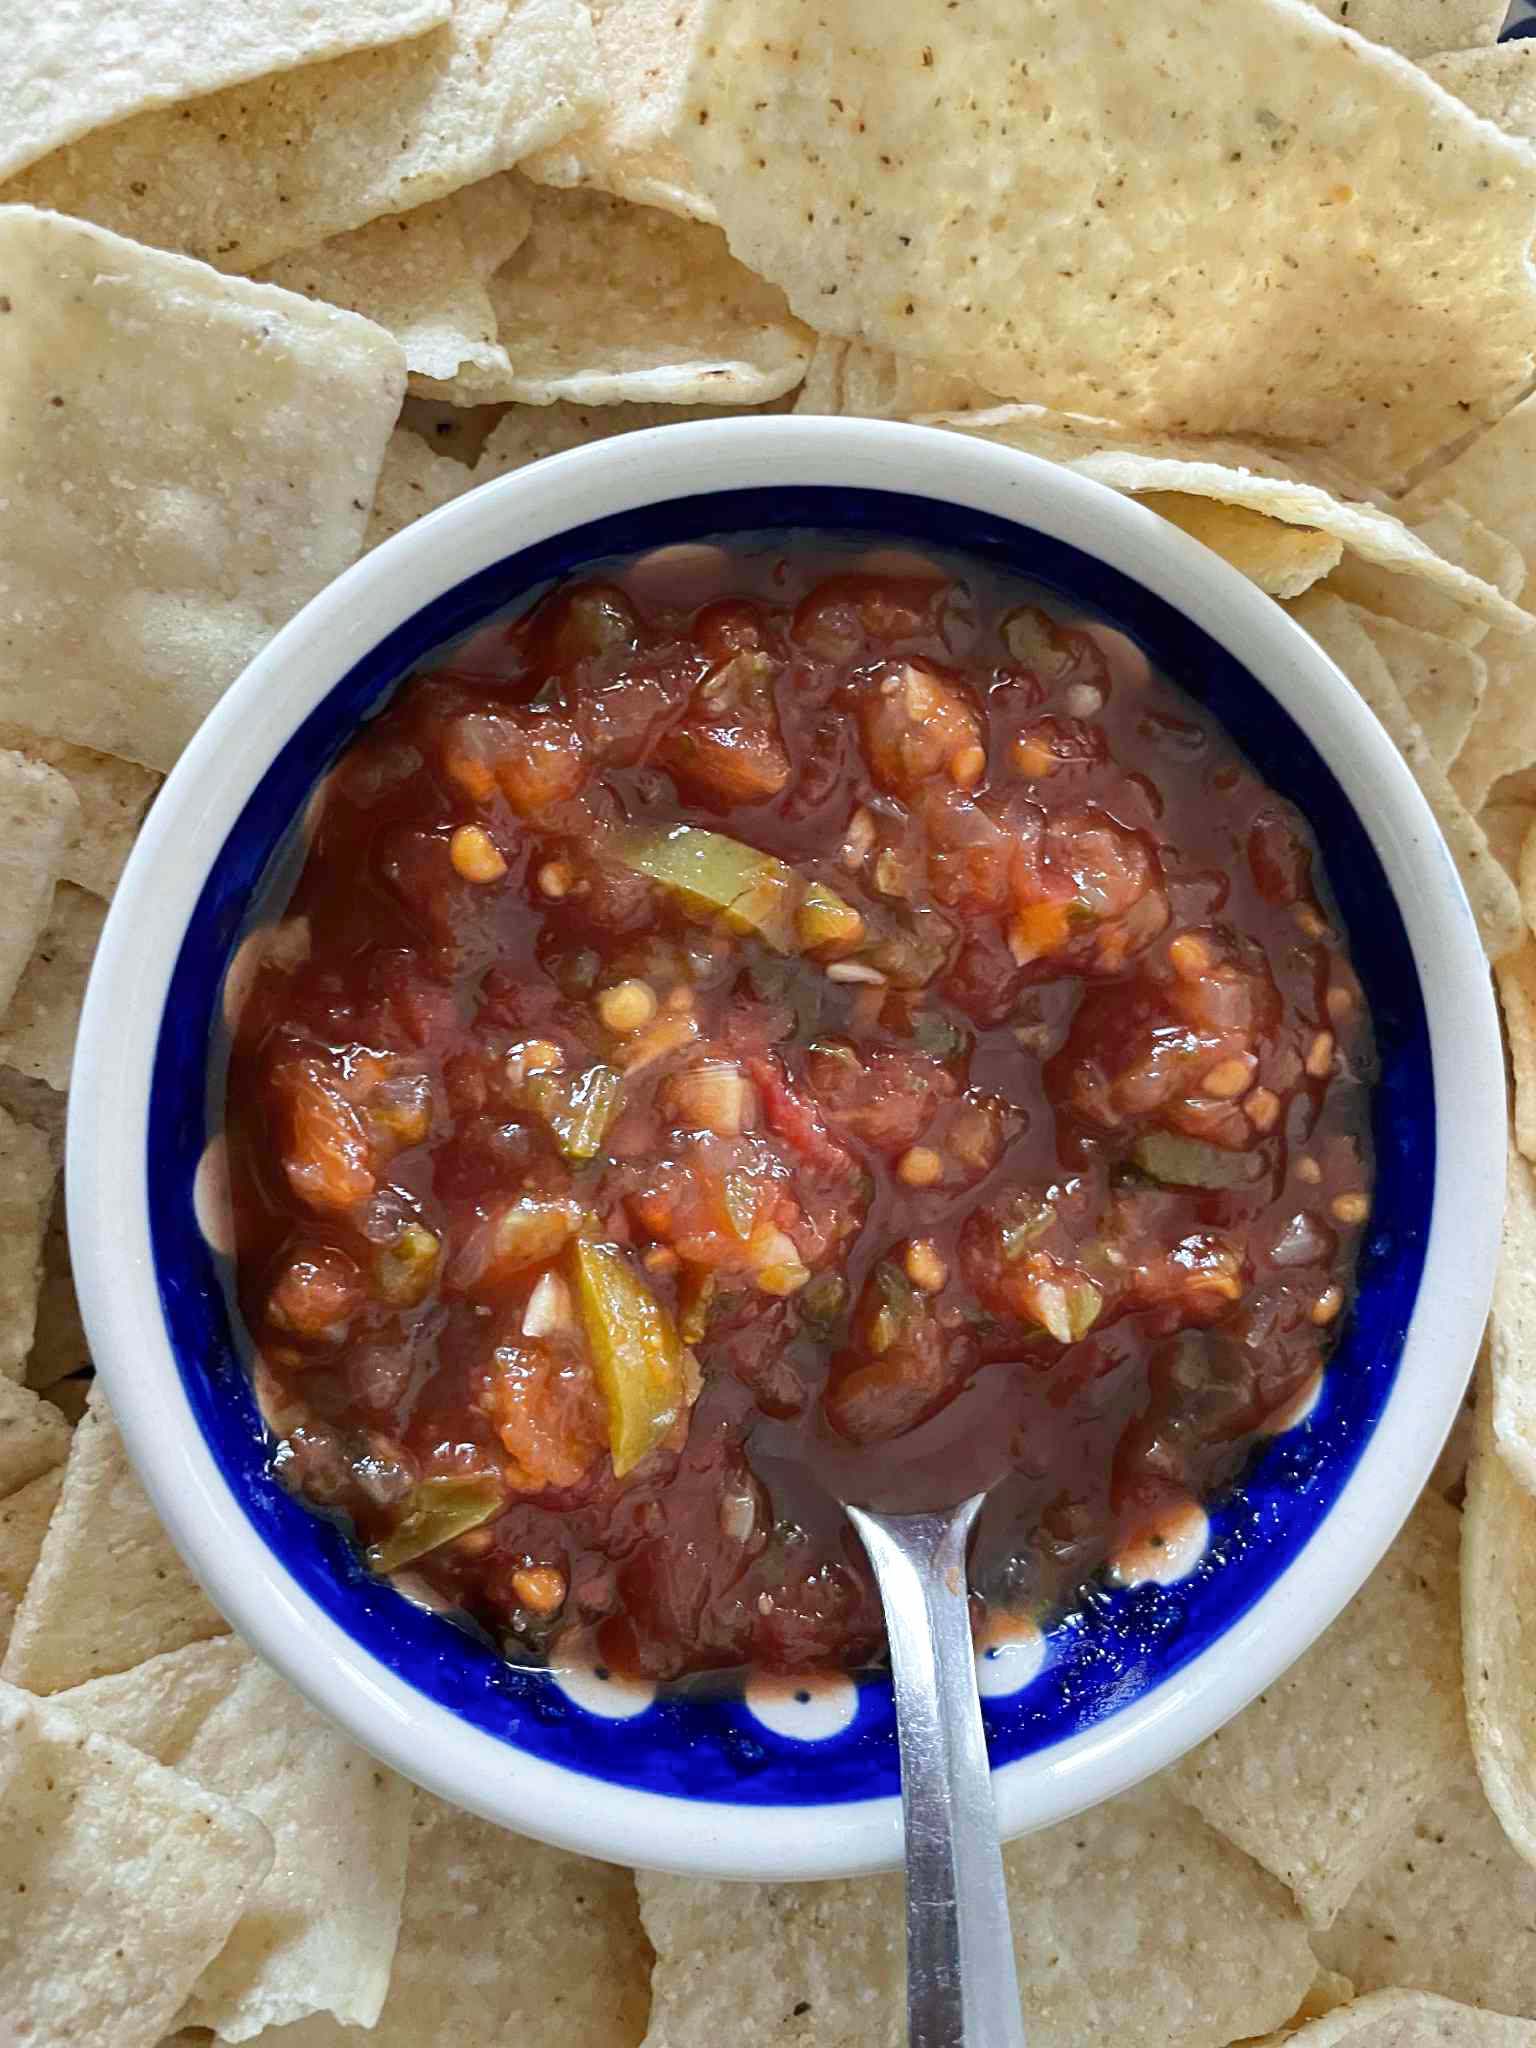
Mild, medium, or hot, this is The Best Homemade Salsa for Canning. It’s perfect for chips and salsa, or topped on your favorite Mexican food. I have had a lot of homemade salsas and sometimes they’re too vinegary, but this one is perfect and really good.
This salsa recipe calls for cilantro. I like it, but I don’t love it. However, the salsa doesn’t taste like it has cilantro in it, but it does something to the flavor to make it taste really good.
 I use whatever tomatoes that come out of the garden. If you use all Roma tomatoes, the salsa will become thick on its own. If you’re not using Roma tomatoes and want a thicker salsa, you can cook it down longer.
My family and I like this homemade salsa the best, and I hope your family does, too.
 Homemade Condiments You’ve Gotta Try!
- Poppy Seed Dressing with Pickled Red Onions
- Homemade Danish Dessert
- Copycat Chick-fil-A Sauce
- Homemade Fiesta Ranch Dip
- Copycat Chipotle Pico de Gallo
- Greek Tzatziki Sauce
Step-by-Step Photos for How to Make The Best Homemade Salsa for Canning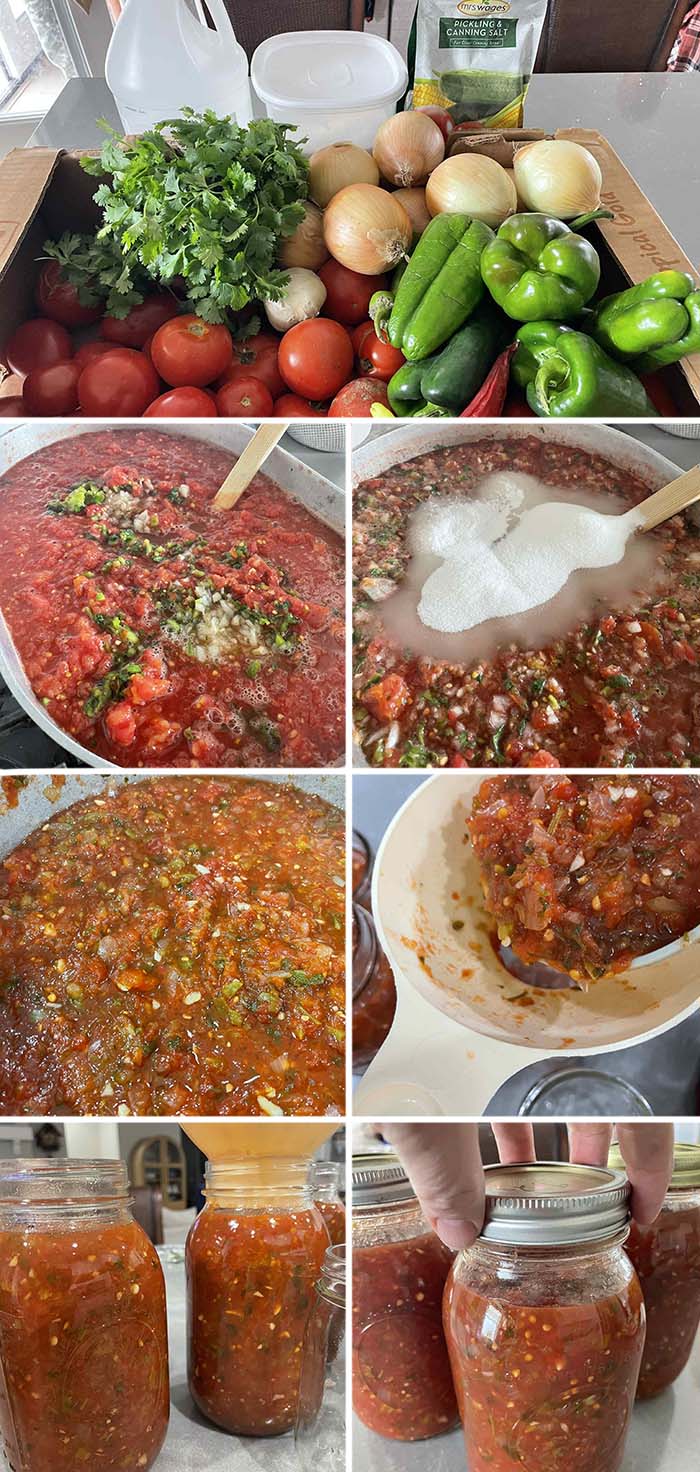
 Frequently Asked Questions and Tips about How to Make the Best Homemade Salsa for Canning
Do I have to peel the skins off of the tomatoes?
The USDA recommends peeling tomatoes before canning to reduce the risk of bacteria because most of the bacteria lives on the skins.
What is the best way to peel the skins?
There are two different ways I like to peel the skins. The first: Blanch the tomatoes in hot water. Take the tomatoes out and put them in cold water, and the skins peel off easily. The second: Put them in a freezer bag in the freezer. If I only have a few ripe tomatoes from the garden, I still put them in a freezer bag, and then I add more tomatoes as they become ripe. When you are ready to make the salsa, take them out the night before to thaw. When the tomatoes are thawed, the skins will peel off easily. This way is a little messy because the tomatoes lose moisture when they’re defrosting. I put the tomatoes on a cookie sheet to defrost to catch the juices.
How many jalapeños should I use for mild, medium, and spicy salsa?
For mild salsa, use 3 jalapeños with all the seeds taken out. It’s similar to Chipotle’s salsa, but not hot at all. For medium salsa, I use 4 jalapeños with all the seeds in them. For spicy hot salsa, use 6-8 jalapeños with the seeds.
I don’t have canning salt. Can I use regular salt?
If you don’t have canning salt, you can use salt without iodine and anti-caking agents or a natural, unrefined salt like Redmond salt. Salt with iodine and anti-caking agents can cause the salsa to be cloudy.
Do I need to cook the salsa, or can I put it in the jars and process them?
Yes, you need to cook the salsa at least 2 1/2 hours to make sure the bacteria is killed and is safe to eat it after canning it. If you use a pressure cooker to process the salsa, then you can put the salsa in the jars without cooking it. I don’t use a pressure cooker. I like letting the salsa simmer down and putting the salsa-filled jars in a steamer.
 How do you sterilize the canning jars?
I usually put them in the dishwasher with no soap and run the sanitizer function. Typically, people sterilize them in a boiling water canner for 10 minutes.
Which is better to use? A steam canner or a water bath canner?
Technically, they tell you not to use a steam canner. Mel from Mel’s Kitchen Cafe does use a steam canner for salsa. My thoughts are if you hope they last 10, 15, or 20 years, there could be an issue using the steamer. At my house, this salsa only lasts 1 year because we really like it, and I’ve never had a problem using the steamer for salsa. I also process the salsa from the simmering temp into the steamer, so it never loses the hot heat. By using this processing method, I’m not concerned that the salsa will never get hot enough to get rid of the bacteria. In the alternative, you can use a water bath canner.
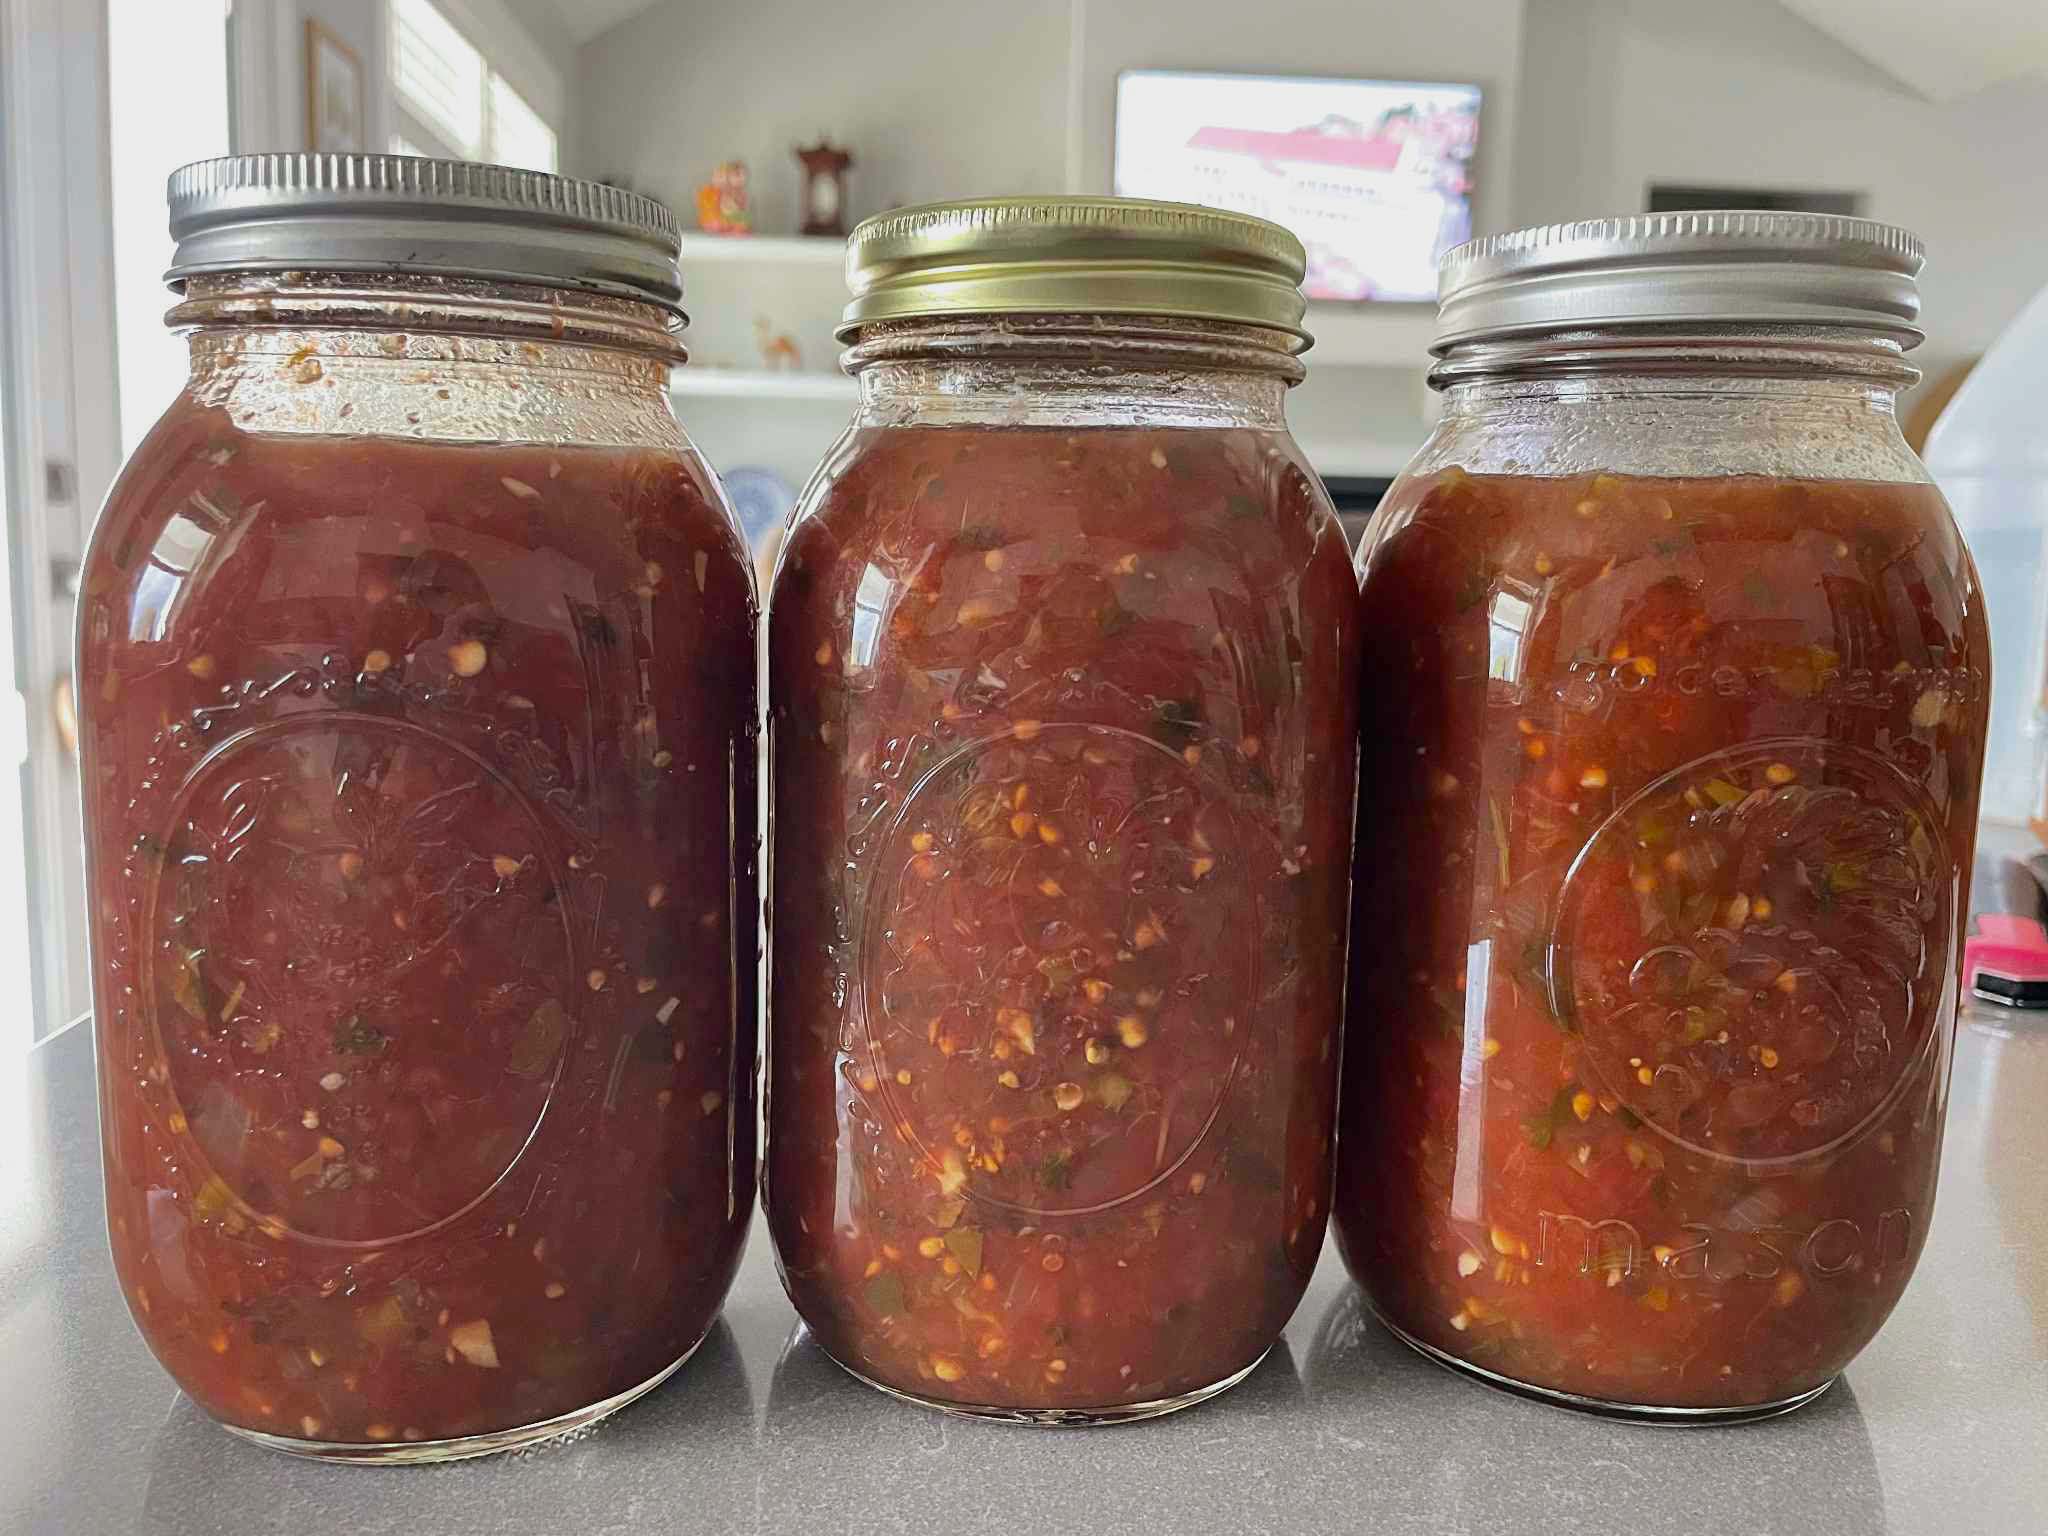
How much salsa does this recipe make?
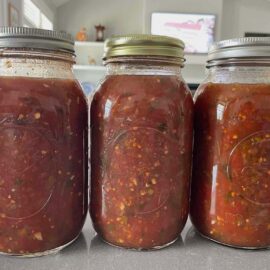
I usually get 28-30 cups, depending upon the size of tomatoes, which equals 14 pints or 7 quarts. Typically, I mostly use pint jars, but my family likes this salsa so much that I do some in both pints and quarts.
Tips:
- Make sure to use 1 cup of white vinegar so the pH level is safe for canning. Do not use fresh lemon or lime juice. It’s not acidic enough for canning.
- I use whatever tomatoes come out of the garden–beef steak, Roma, etc.
- You can use a mix of mild or hot peppers. If I don’t have enough jalapeños, I use whatever other peppers I have from the garden.
- I use my food processor to chop everything up.
- If you do not have at least a 3-gallon pot , you can mix all the ingredients together, and then divide the mixture half and half into two pots. However, it’s best to use a big pot if you have one. The salsa does cook down, so you will lose a couple of inches from what it starts out at.
- As you are filling the jars with salsa, leave a good inch of space at the top of the jars. Do not fill the jar to the rim.
- After you have ladled the hot salsa into the jars, thoroughly wipe the rim of each bottle with a damp, clean washcloth or sponge. Make sure there’s no salsa on the rims so the jars will properly seal.
 Chef’s Tools for Canning Homemade Salsa:
Serve The Best Homemade Salsa with...

- 25 tomatoes, peeled and quartered
- 4 onions, chopped
- 4 green bell peppers, chopped
- 5 cloves of garlic, minced
- 1 cup fresh cilantro (2 bunches), chopped
- 3-8 jalapeños, chopped (4 with seeds is a medium spice)
- 1 cup white vinegar
- ¼ cup canning salt
- ½ cup granulated sugar
- Make the salsa:
- Place all the ingredients in a large pot that holds at least 3 gallons. (If you do not have a pot that big, you can mix all the ingredients together, and then divide the mixture half and half into two pots. However, it's best to use a big pot if you have one. The salsa does cook down, so you will lose a couple of inches from what it starts out at.)
- Next, bring the salsa mixture to a boil, then turn the heat down, and let it simmer for 3 hours.
- In the meantime, sterilize 14 pint jars or 7 quart jars and place the lids in a pot filled with water on the stove. A few minutes before the salsa is done simmering, bring to boil the pot with the lids.
- When the salsa is done simmering, use a canning funnel to ladle the hot salsa into the jars, leaving a good inch of space at the top. Do not fill the jar to the rim.
- Next, thoroughly wipe the rim of each bottle with a damp, clean washcloth or sponge. Make sure there's no salsa on the rims so the jars will properly seal.
- Place a hot lid on each bottle and tightly screw a ring on each bottle.
- Processing with a Steam Canner:
- Frist, place the rack in the steamer, and fill the steamer with water to just below the rack. Do not let the water go above the rack.
- Next, using a jar lifter tong, place 7 jars of salsa on the rack. (Most steamers can hold 7 jars.)
- Put the steamer lid on and turn the burner on to medium high to high.
- When steam consistently comes out of the hole(s) on the steamer, start the timer for 30 minutes for pint jars and 45 minutes for quart jars. It takes a little bit of time from turning the burner on and seeing the steam coming out.
- Next, follow the steps below starting with Step 21.
- Processing with a Water Bath Canner:
- When using a water bather, some people like to heat the water first, but it can be dangerous if the bottles are not the same temperature as the water.
- A few minutes before the salsa is done simmering, pour some water in the bather and let it heat up. (You can do this at the same time you are preparing the lids.)
- Next, add a quart or so of room temperature water to the bather before you put the bottles in.
- Put the rack in the water bather.
- With a jar lifter tong, put the hot jars of salsa on the rack and lower them into the water. Make sure there is an inch of water covering the top of the jars. Add more water if needed.
- Put the lid on. When the water comes to a rolling boil, start the timer for 30 minutes for pint jars and 45 minutes for quart jars.
- Next, carefully remove the salsa bottles with a jar lifter tong and place them on a thick folded towel, a drying rack, or a cutting board. Whatever you use to place them on, it needs to be stable.
- Let the salsa bottles sit undisturbed for 24 hours before putting them in the pantry or storage.
- Enjoy!
More of The Best Homemade Recipes


Leave a Comment